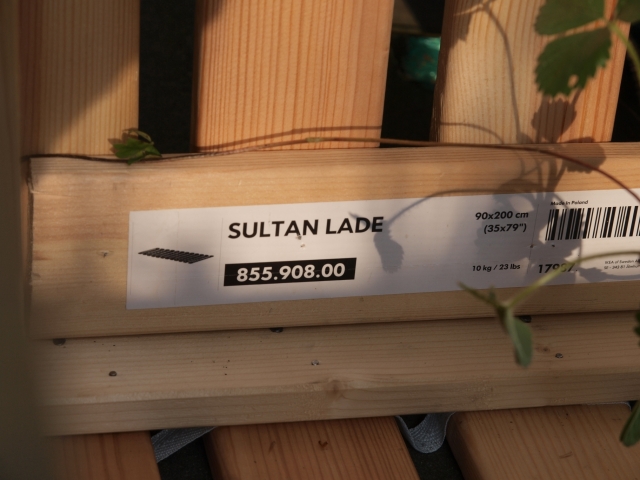
When we purchased the twin sized bed frame from Ikea for our second bedroom, in anticipation of having my family come to visit us here in Germany, it came with a set of sturdy, inflexible, wooden slats.
These slats, which are commonly used to support beds here in Europe, are placed within the bed frame and the mattress goes on top. It’s rather uncomfortable to sleep on top of hard wooden slats, as you can imagine, so most people here opt to buy the “flexible” bed frame slats which are much pricier but a lot more comfortable to sleep on. A set of new “flexible” slats can run from at least a hundred euros and upwards depending on the style you buy. This is the system that’s commonplace throughout Europe and it’s what they use instead of the box-spring concept that we have in the United States. Since my brother was coming to stay with us for the entire summer this year, he’s staying with us from May through early October, we decided to buy a set of more comfortable and flexible slats for our guest bed. We looked around online for an affordable set of second hand slats and found a barely used set, on ebay, for a fraction of the cost that we would have paid for them new.
We then sent the Ikea planks straight down to retirement in our basement store room. It seemed like they might end up living there indefinitely if it hadn’t been for an idea I had earlier this summer to build another planter for our balcony. I needed some untreated, lightweight wood to do that and was also looking for a way to upcycle these wooden bed slats, so it worked out perfectly. I don’t have any plans because I just made up this planter as I went along but if you’re using wood that you already have on hand, fit the dimensions of your planter to the materials you have. I also in the end decided to make the planter a little bit larger than I had initially planned so that I could utilize all the wood from the slats. This meant, however, that I would be just shy of the amount of wood I would need to finish the planter and would need to purchase an additional small length of similar wood. I figured it was better to have a larger planter and spend an extra euro or two on wood than to have a smaller one with left over wooden slats that I would have no use for.
So here’s what you’ll need:
Light wood like pine, about 16-18 meters (I had 16 slats that were 96 cm x 7 cm x 2cm)
Hand saw
Hammer
Nails
Level
Straight edge or Speed Square
Work Bench or Sawhorse (or some level surface where you can cut the wood)
Pencil
*I had everything I needed except for the saw.
The saw plus the the small amount of wood that I needed to buy cost me altogether around 10 euros.
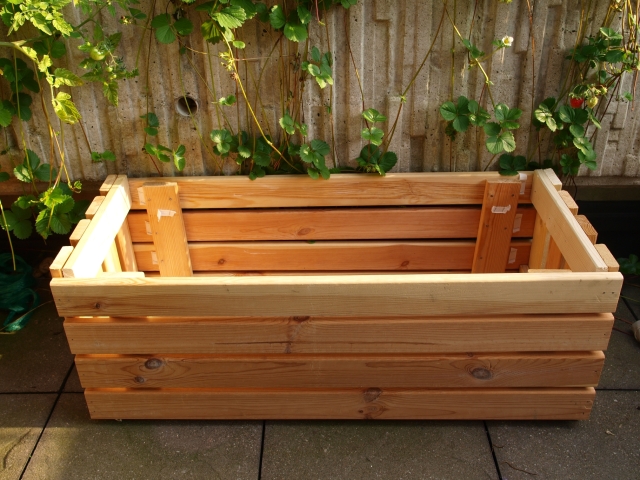
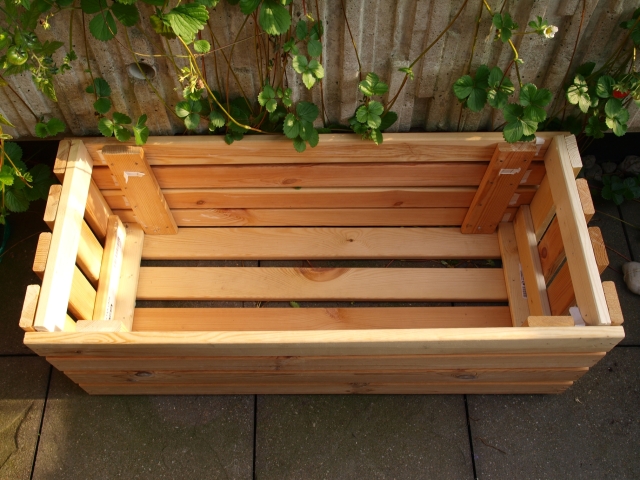
I utilized the full length of the slats for the bottom and two long sides of the planter, using 4 slats evenly spaced for each of these three sides.
I cut the remaining 4 long slats that I had into thirds for a total of 12 shorter pieces (each 32 cm long).
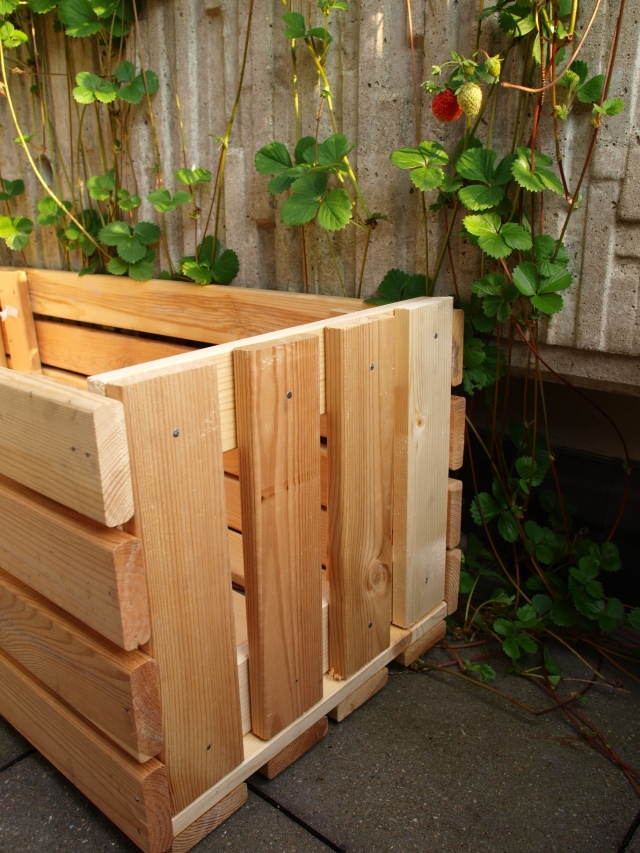
I used these pieces to make the vertical sides on each end of the planter.
Using 4 pieces for each of the vertical sides, I now had only four short pieces left.
(this is where I needed to buy a little extra wood to finish, approx. 1.92 meters)
I needed a total of 10 of these short pieces to brace the inside of the structure and hold all the pieces together.
To brace each side of the planter I used two short pieces each, one on each end, to hold the sides in place.
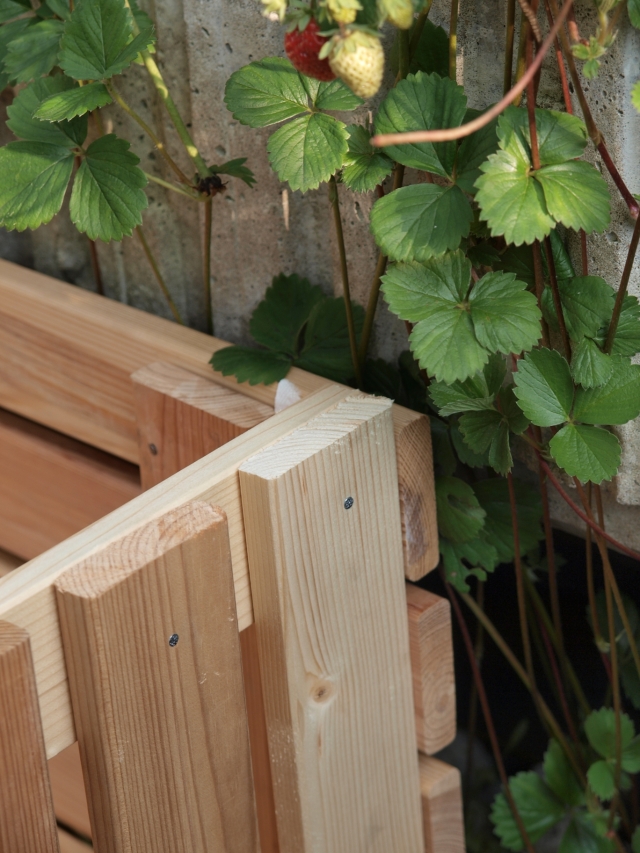
I nailed the inside bracing pieces flush with the top on each end. I did the same on the bottom to give the planter a little extra height.
For the two long sides I adjusted the spacing between the boards to make everything evenly match up and then nailed them in place.
And voila, a new planter for my balcony!
All you need to do now is staple some garden fabric to the inside of the planter and add some soil!
Saw Cost: € 6
Wood Cost: € 4
Garden Fabric Cost: € 3
Soil Cost: € 6
Total Cost: € 19



Another “Wow, Dove!” I love this idea. It looks easy to make and I would also like to see it when you get the plants in…. Mom
Very nice, I’m curious about the pine in weather conditions, I heard it’s not meant to be for outdoor. I would love to get your input on this.
Sami, my planter is doing great and it’s been 4+ years since I made it. It sits on our balcony which is unprotected from the elements and has shown little wear, just the wood color has browned a bit. I will post pictures of what it looks like now in a more recent post if you are interested.
I’d love to see how it has weathered – if it’s easy for you. Also do you fill it with earth or put pots in it? Such a great idea.
Many thanks
Moosie
I stapled garden fabric to the inside and filled it with potting soil. I’ll post some pics as soon as the sun comes out!
Nice work! I searched your blog but didn’t find anything about what appears to be strawberry plants growing on the wall in the background. Could you fill us in? Are they hanging from a planter box above?
I had strawberry plants and other herbs/vegetables growing in large planters that surrounded our balcony. This post shows our balcony garden a bit better. Thanks for the interest in my blog. https://theartfulgardener.wordpress.com/2012/08/14/berry-berry-smoothie/
[…] Deze fantastische plantenbak is tevens gemaakt van een simpele lattenbodem. Voor iedereen met groene vingers is dit een uitkomst. De kosten van deze DIY plantenbak liggen beduidend lager dan van een kant en klare bak. Dit project kost je ongeveer 20 euro! De beschrijving voor deze DIY vind je hier. […]
Dear friend!
I think I have a very good news for you, you’re going to be surprised! Read it here please http://joint.creatinggreatnessnow.org
Hope this helps, bonnie flower
Dear!
I’ve got goon new for you, that’s something you might really like, just take a look http://amontanaview.com/limitation.php?7f7e
bonnie flower
Dear!
I just wanted to tell you about a beautiful place I’ve visited recently, I met a lot of amazing people there. please read more about it here http://141-fat.princessshow.com/win.php?5b5a
Kind regards, bonnie flower
Dear!
I just wanted to tell you about a place I’ve visited recently, it’s so amazing! Check it out http://elyanaskincare.com/interior.php?8e8f
Yours, bonnie flower
Greetings,
Just take a look at all this stuff! There are so many beautiful things here, you should visit the store http://www.str8hate.com/circle.php?edec
Hugs, bonnie flower
[…] in the deed I set out to build myself a front yard, Victory Garden. For more details on how to make raised beds from pallets or repurposed wood, go to […]